
For installing Linux Ubuntu on Mac you need to perform three steps:
- Install Oracle Virtual-box on Mac Book
- Create Linux Ubuntu Virtual Machine on Virtual Box
- Install Ubuntu on Virtual Machine using Virtual Box
Step-1: Installing VirtualBox on Mac OS
Setting up VirtualBox on your Mac or windows is straightforward. Follow these steps:
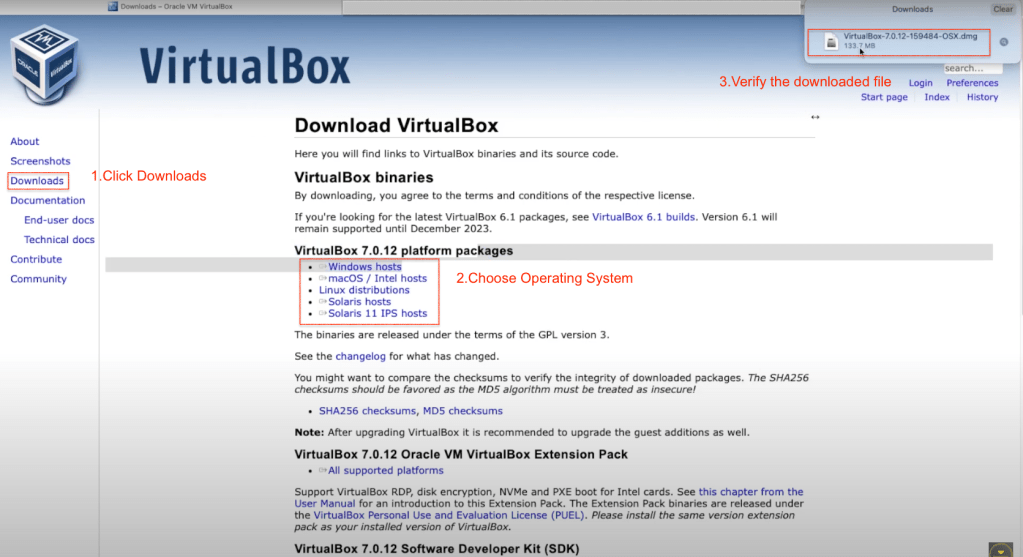
- Visit https://www.virtualbox.org/wiki/Downloads and choose ‘OS X hosts’ to download the VirtualBox DMG file.
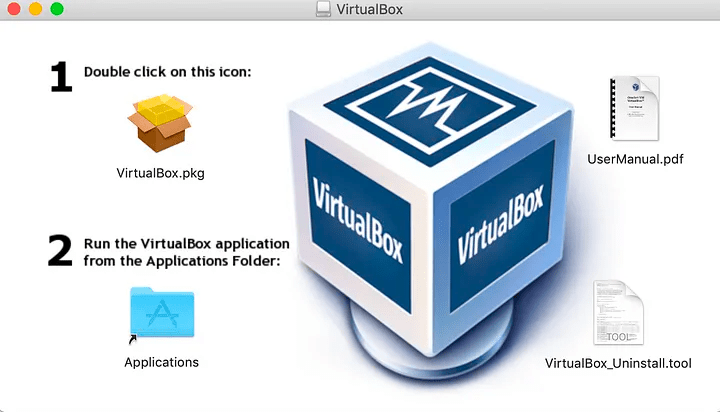
- Once the download is complete, open the VirtualBox.DMG file by double-clicking on it.
- Inside the DMG file, double-click on the VirtualBox package icon.
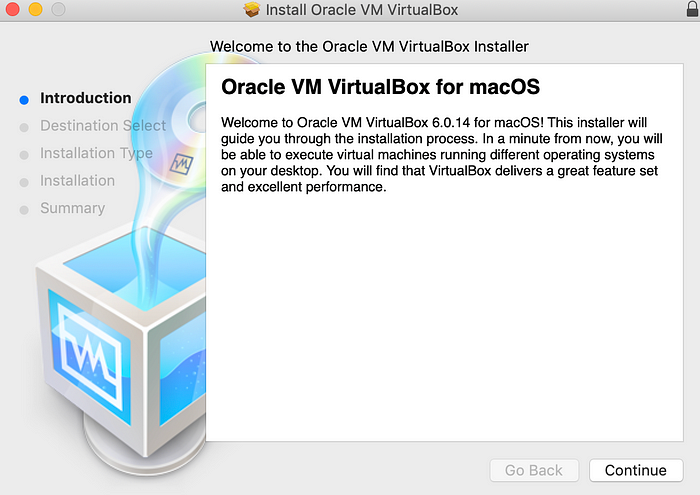
- Install Oracle VM VirtualBox by clicking ‘continue.’ You can also choose or change the destination location for installation.
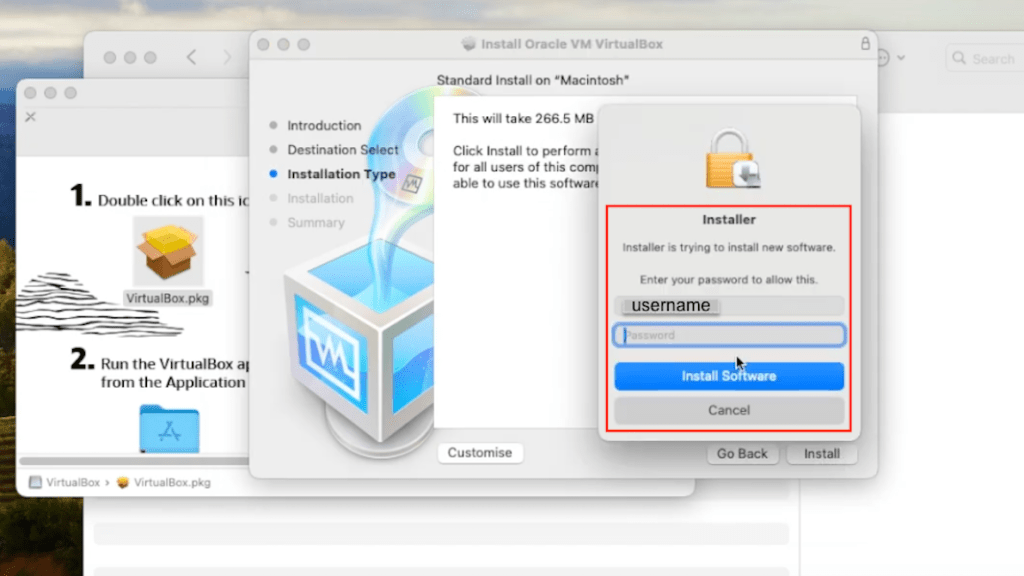
- The installation might prompt for your Mac credentials.
- Upon successful installation, you won’t see a separate confirmation message
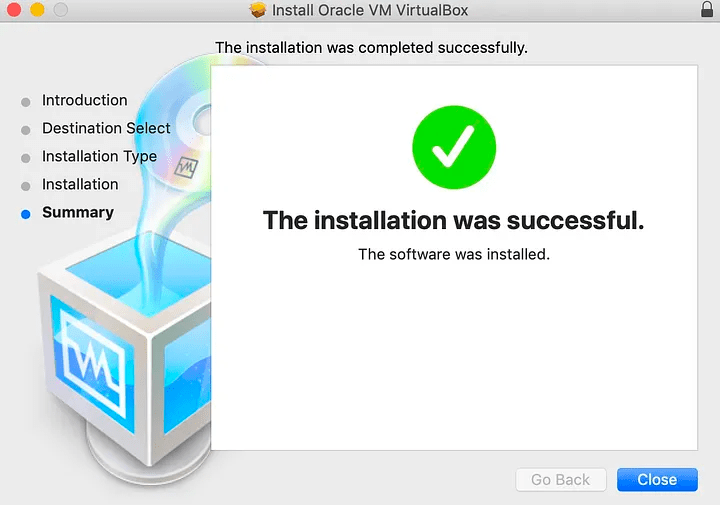
- you can locate and start VM VirtualBox under ‘Applications’ in the Finder Window

All Good Now, we can install Ubuntu on virtual box.
Step 2: Creating Ubuntu Linux Virtual Machine under VirtualBox on Mac OS
Now that VirtualBox is installed, let’s move on to installing Ubuntu in your virtual machine (VM)
However, before diving into the VM installation, ensure that your computer meets the following requirements: a minimum of 4 GB or 4096 MB of RAM (Random Access Memory), at least 30 GB of free space on your hard disk drive, and a CPU (Central Processor Unit) with support for Intel VT-x or AMD-v hardware virtualisation features. Make sure these features are enabled in your UEFI/BIOS settings. Once you’ve confirmed that your computer meets these specifications, you can proceed with the steps below to create an Ubuntu Virtual Machine in VirtualBox.
Download an Ubuntu Image
You can download an Ubuntu image here. Make sure to save it to a memorable location on your PC! For this tutorial, we will use the latest Ubuntu 22.10 release.
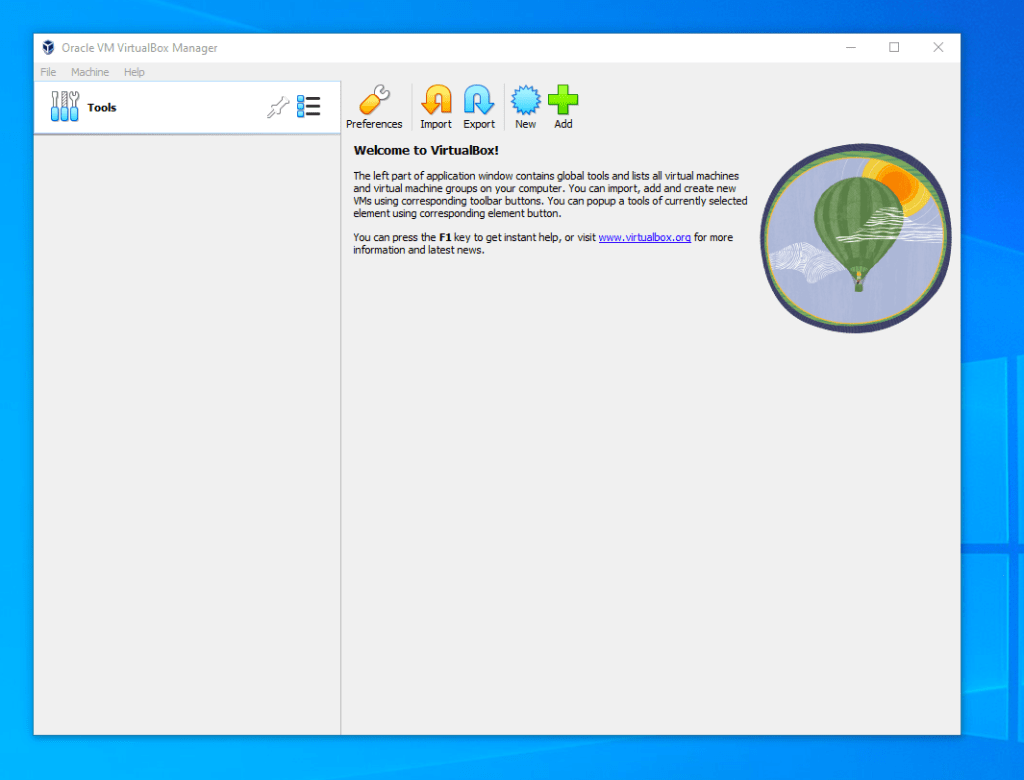
- Open the Finder window on your Mac OS and double-click the VirtualBox icon under ‘Applications.’
- The Oracle VM VirtualBox Manager will launch.
Create a new virtual machine
Click New to create a new virtual machine. Fill in the appropriate details:
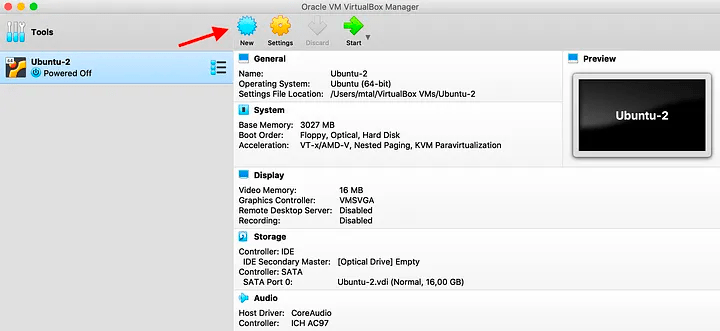
- Name: If you include the word Ubuntu in your name the Type and Version will auto-update.
- Machine Folder: This is where your virtual machines will be stored so you can resume working on them whenever you like.
- ISO Image: Here you need to add a link to the ISO you downloaded from the Ubuntu website.
We want to install Ubuntu unattendedly so we can leave the checkbox to skip unchecked.

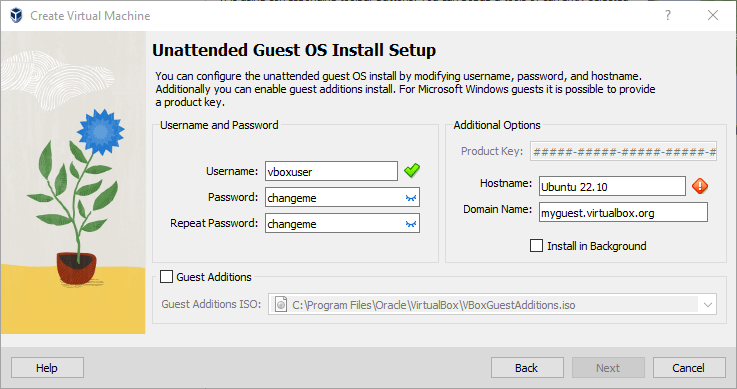
Create a user profile
To enable the automatic install we need to prepopulate our username and password here in addition to our machine name so that it can be configured automatically during first boot.
The default credentials are:
- Username: vboxuser
- Password: changeme
It is important to change these values since the defaults will create a user without sudo access.
Ensure your Hostname has no spaces to proceed!
Define the Virtual Machine’s resources
In the next section we can specifiy how much of our host machine’s memory and processors the virtual machine can use. For good performance it’s recommended to provide your VM with around 8GB of RAM (althought 4GB will still be usable) and 4 CPUs. Try to remain in the green areas of each slider to prevent issues with your machine running both the VM and the host OS.

Then we need to specify the size of the hard disc for the virtual machine. For Ubuntu we recommend around 25 GB as a minimum. By default the hard disk will scale dynamically as more memory is required up to the defined limit. If you want to pre-allocate the full amount, check the ‘Pre-allocate Full Size’ check box. This will improve performance but may take up unnecessary space.
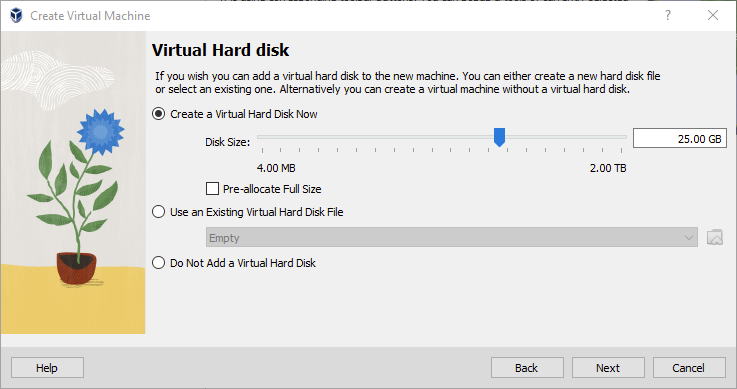
Click Next to continue and view a summary of your machine setting.

After this click Finish to initialise the machine!
Install ubuntu image
Click Start to launch the virtual machine.

You will see a message saying ‘Powering VM up …’ and your desktop window will appear.
On first boot the unattended installation will kick in so do not interact with the prompt to ‘Try and Install Ubuntu’ and let it progress automatically to the splash screen and into the installer.

You will notice at this stage that the resolution of the window is fixed at 800×600. This is because the Guest Additions features are not installed until after the Ubuntu installation has completed.

Once the installation completes, the machine will automatically reboot to complete the installation.

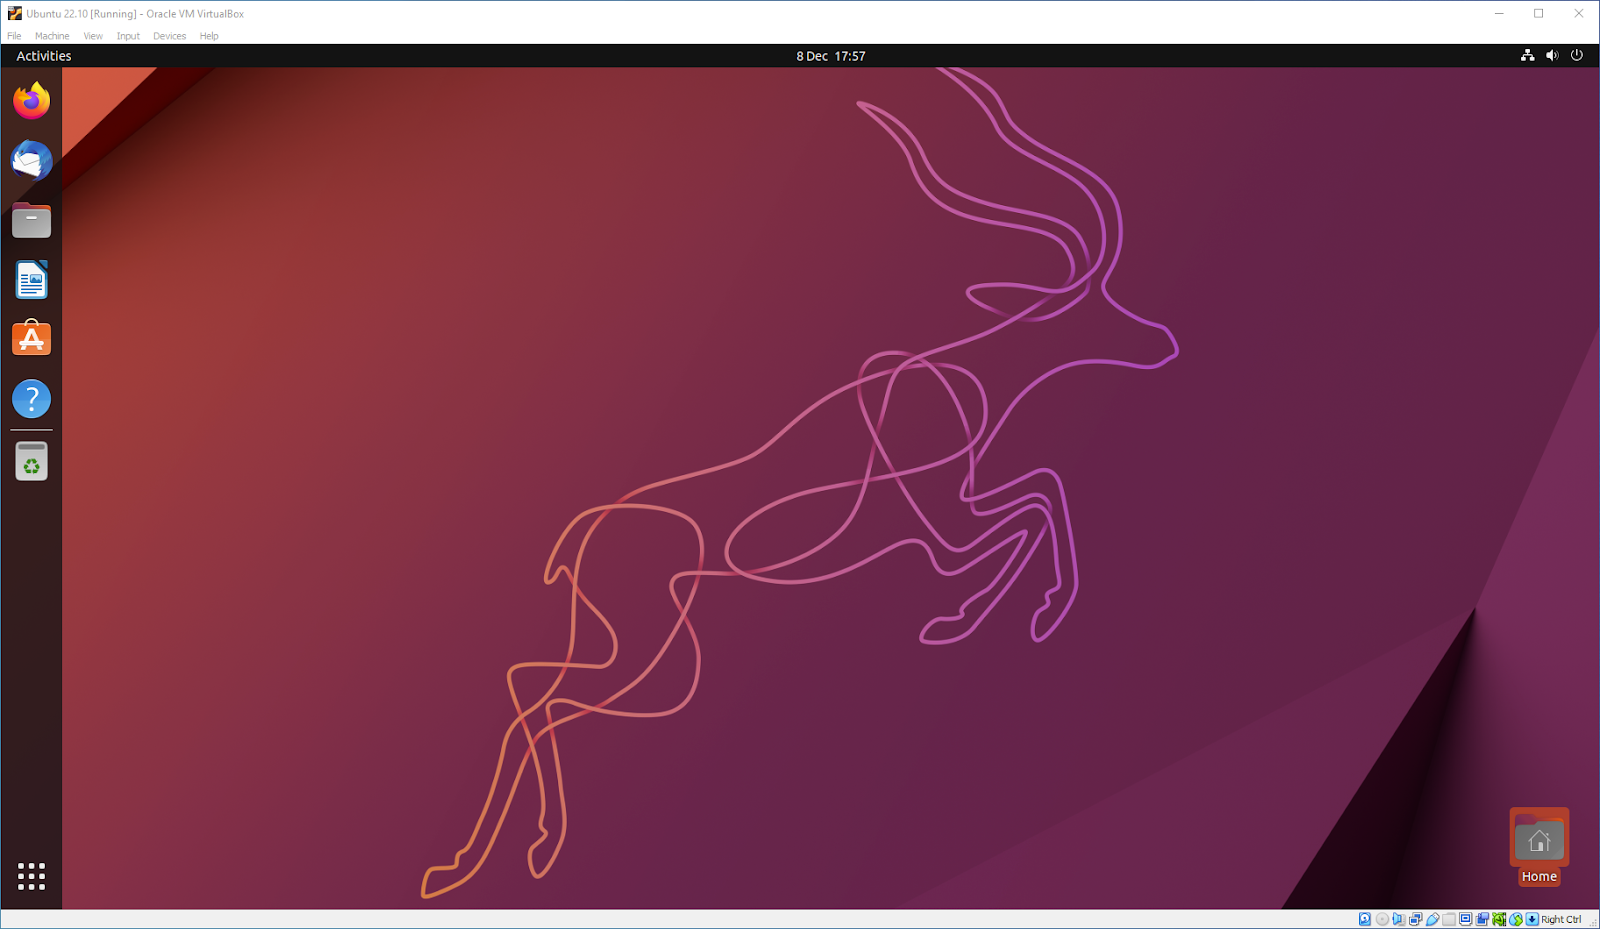
Finally you will be greeted with the Ubuntu log-in screen where you can enter your username and password defined during the initial setup (don’t forget that the default password is ‘changeme’ if you left everything as the default).

Explore Virtual Box
Enjoy your shiny new Ubuntu Desktop!
As always we recommend opening a terminal and running sudo apt update && sudo apt upgrade -y and then sudo snap refresh to get everything updated to the latest versions.
Once you’ve finished your session you can close your machine by clicking the X in the top right of the window and choosing whether to keep your machine frozen in its current state or shut it down completely.

As you can probably tell, there are tonnes of further configuration options available in VirtualBox and we’ve only scratched the surface.
VirtualBox allows you to create and configure multiple virtual machines, so don’t be afraid to create new instances of Ubuntu to try out different system and storage configurations to fine tune your performance.
If you encounter any issues during the installation, feel free to watch my YouTube video for a detailed step-by-step guide. Don’t forget to subscribe to my channel for more informative videos like this!

Leave a comment